
Established in 1998, Mittal Group is a real estate firm in India that provides residential spaces with luxurious and modern amenities designed to suit your every need. The group commenced with the project ‘Sun City’ on Sinhgad Road which has now become a landmark on the Pune skyline. Mittal Group has served thousands of happy and satisfied homeowners.
At Mittal Group, we redefine modern living with thoughtfully designed residential and commercial spaces. Our featured projects showcase a perfect blend of luxury, innovation, and sustainability, offering exceptional amenities and strategic locations that cater to your lifestyle and investment needs.

Own a premium 2, 2.5 & 3 BHK at Keshavnagar’s most strategic address. Sun Garnet offers unmatched connectivity to Magarpatta and EON IT Park for a smarter commute.
Explore More
Elevate your lifestyle near Sinhagad Road with luxurious 3 & 4 BHK residences, crafted for modern urban living in a prime location opposite Helios International School.
Explore More
Discover vibrant living in Kharadi with 2, 2.5 and 3 BHK apartments featuring stylish designs and unmatched urban convenience.
Explore More.jpg)
Embrace luxury living in Koregaon Park, where premium 4 BHK Simplex & 6 BHK Duplex residences offer the perfect blend of style and comfort.
Explore More
Experience elevated living with premium 3 & 4 BHK residences that blend modern luxury, elegant design, and a prestigious location in Nigdi Pradhikaran.
Explore More
Rises across four striking 20-storey towers. Designed for modern living, every element supports ease, balance, and luxury in one seamless ecosystem.
Explore More
Redefine comfort with 2 and 3 BHK flats in Kothrud, offering upscale living in a prime redevelopment project.
Explore More
Experience luxury and tranquillity with spacious 2 BHK homes, modern amenities, and a serene setting in Ambegaon.
Explore More
Live amidst elegance and peace in Dhayari, where thoughtfully crafted homes and exceptional amenities offer a balanced lifestyle.
Explore More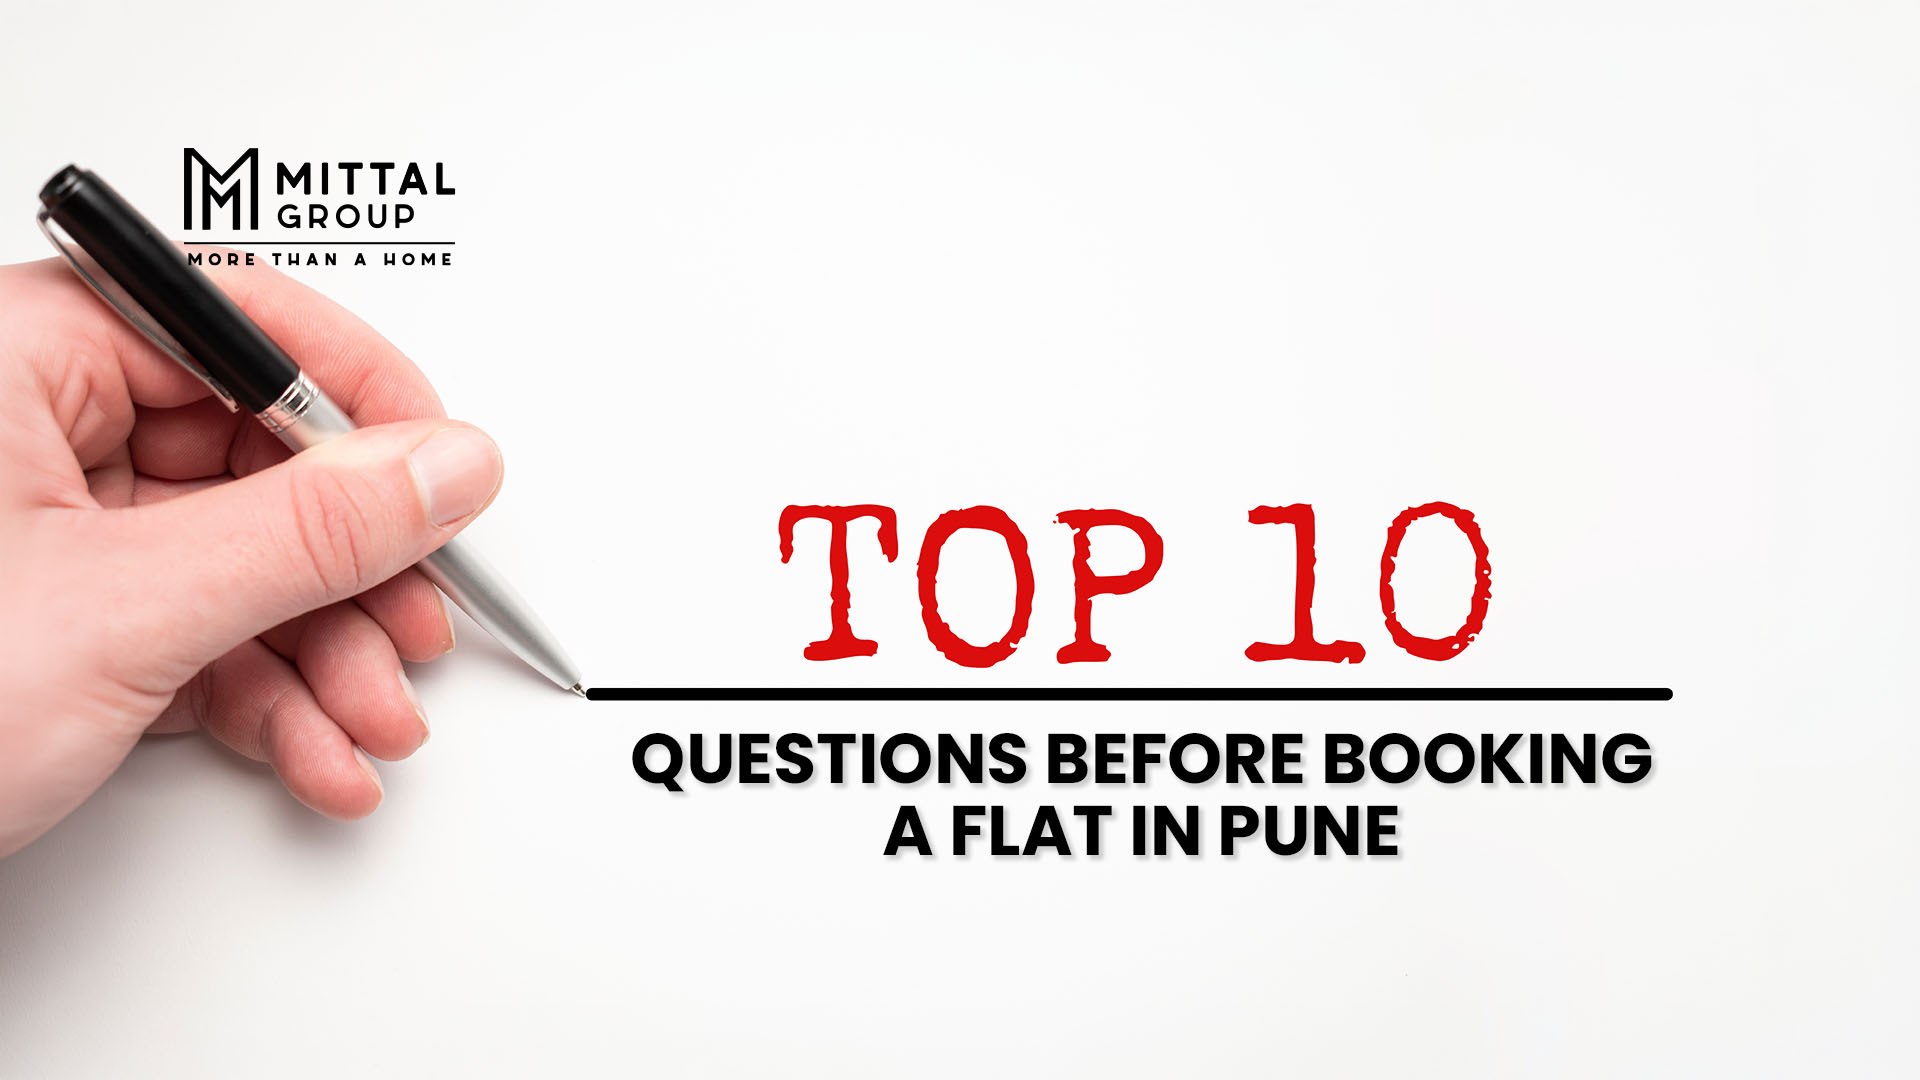
Top 10 Questions Every Homebuyer in Pune Should Ask Before Booking a Flat
Read More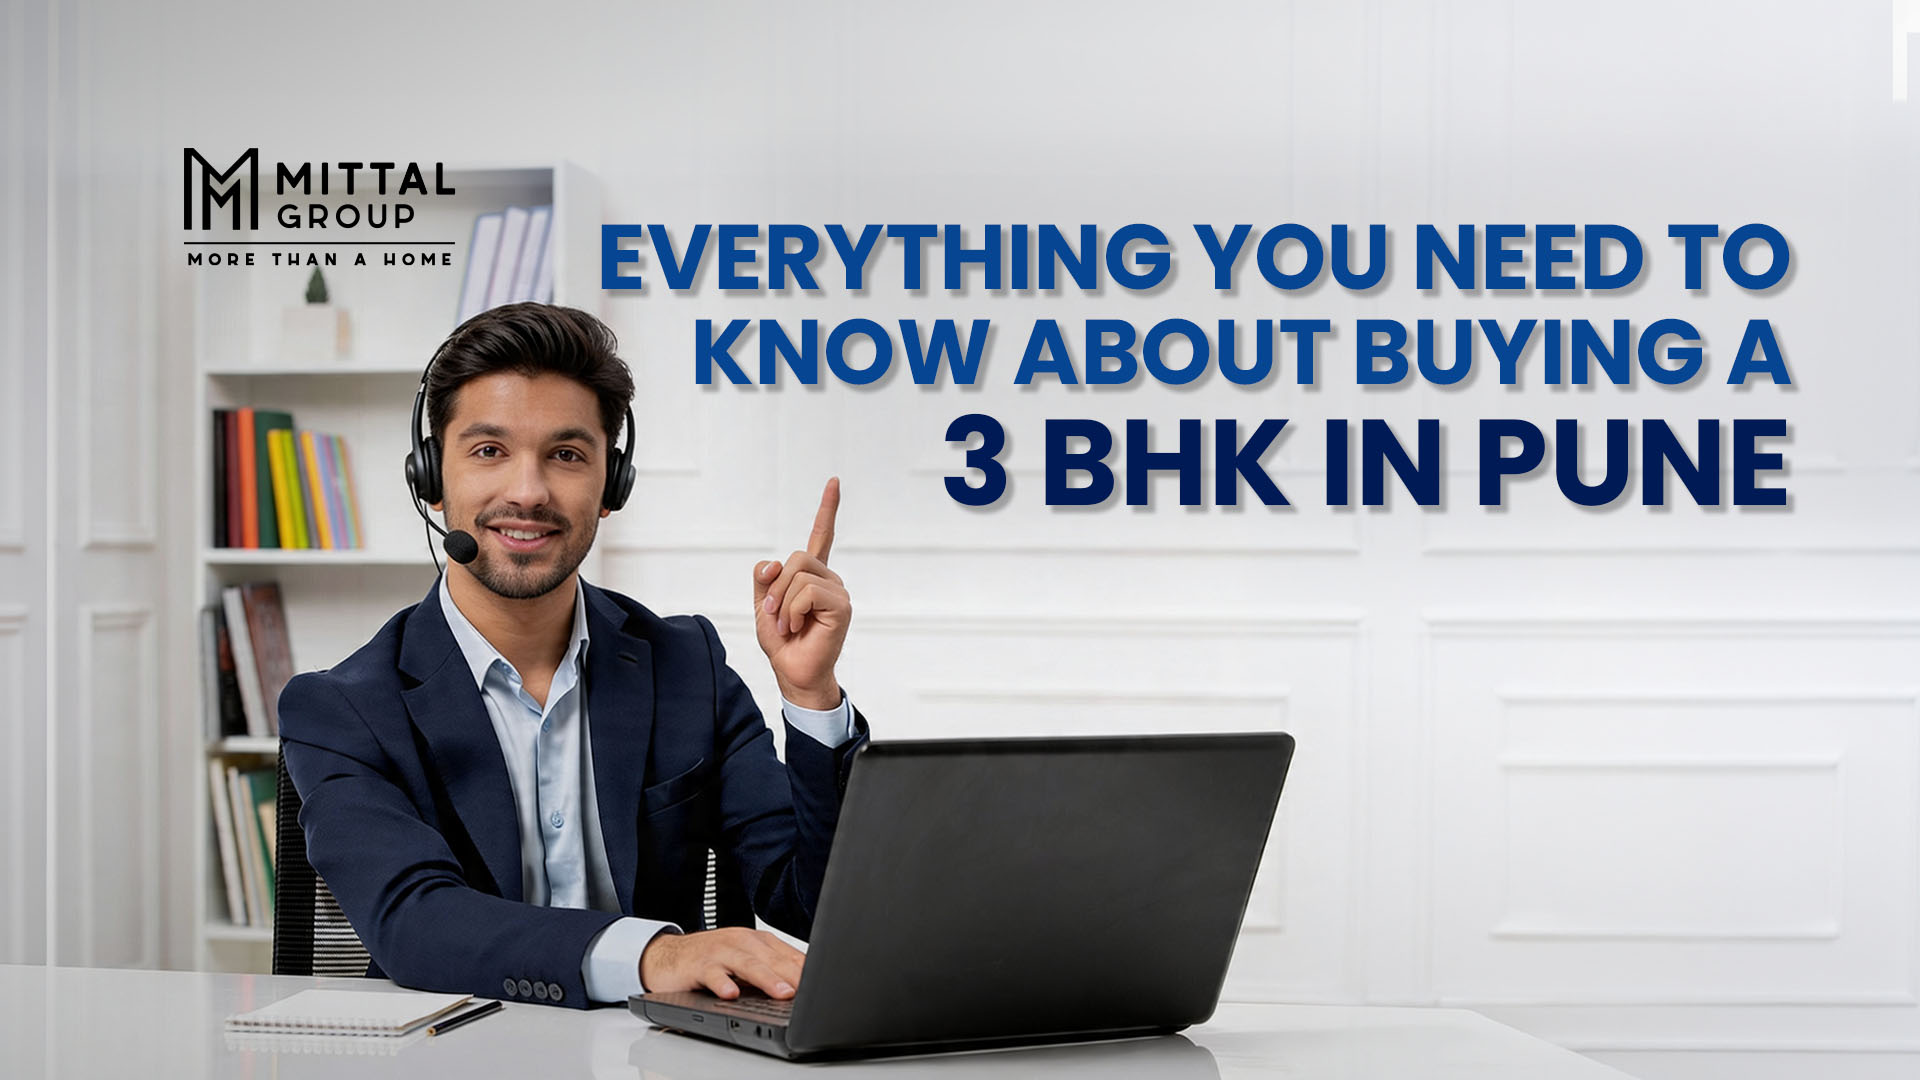
Everything You Need to Know About Buying a 3 BHK in Pune
Read More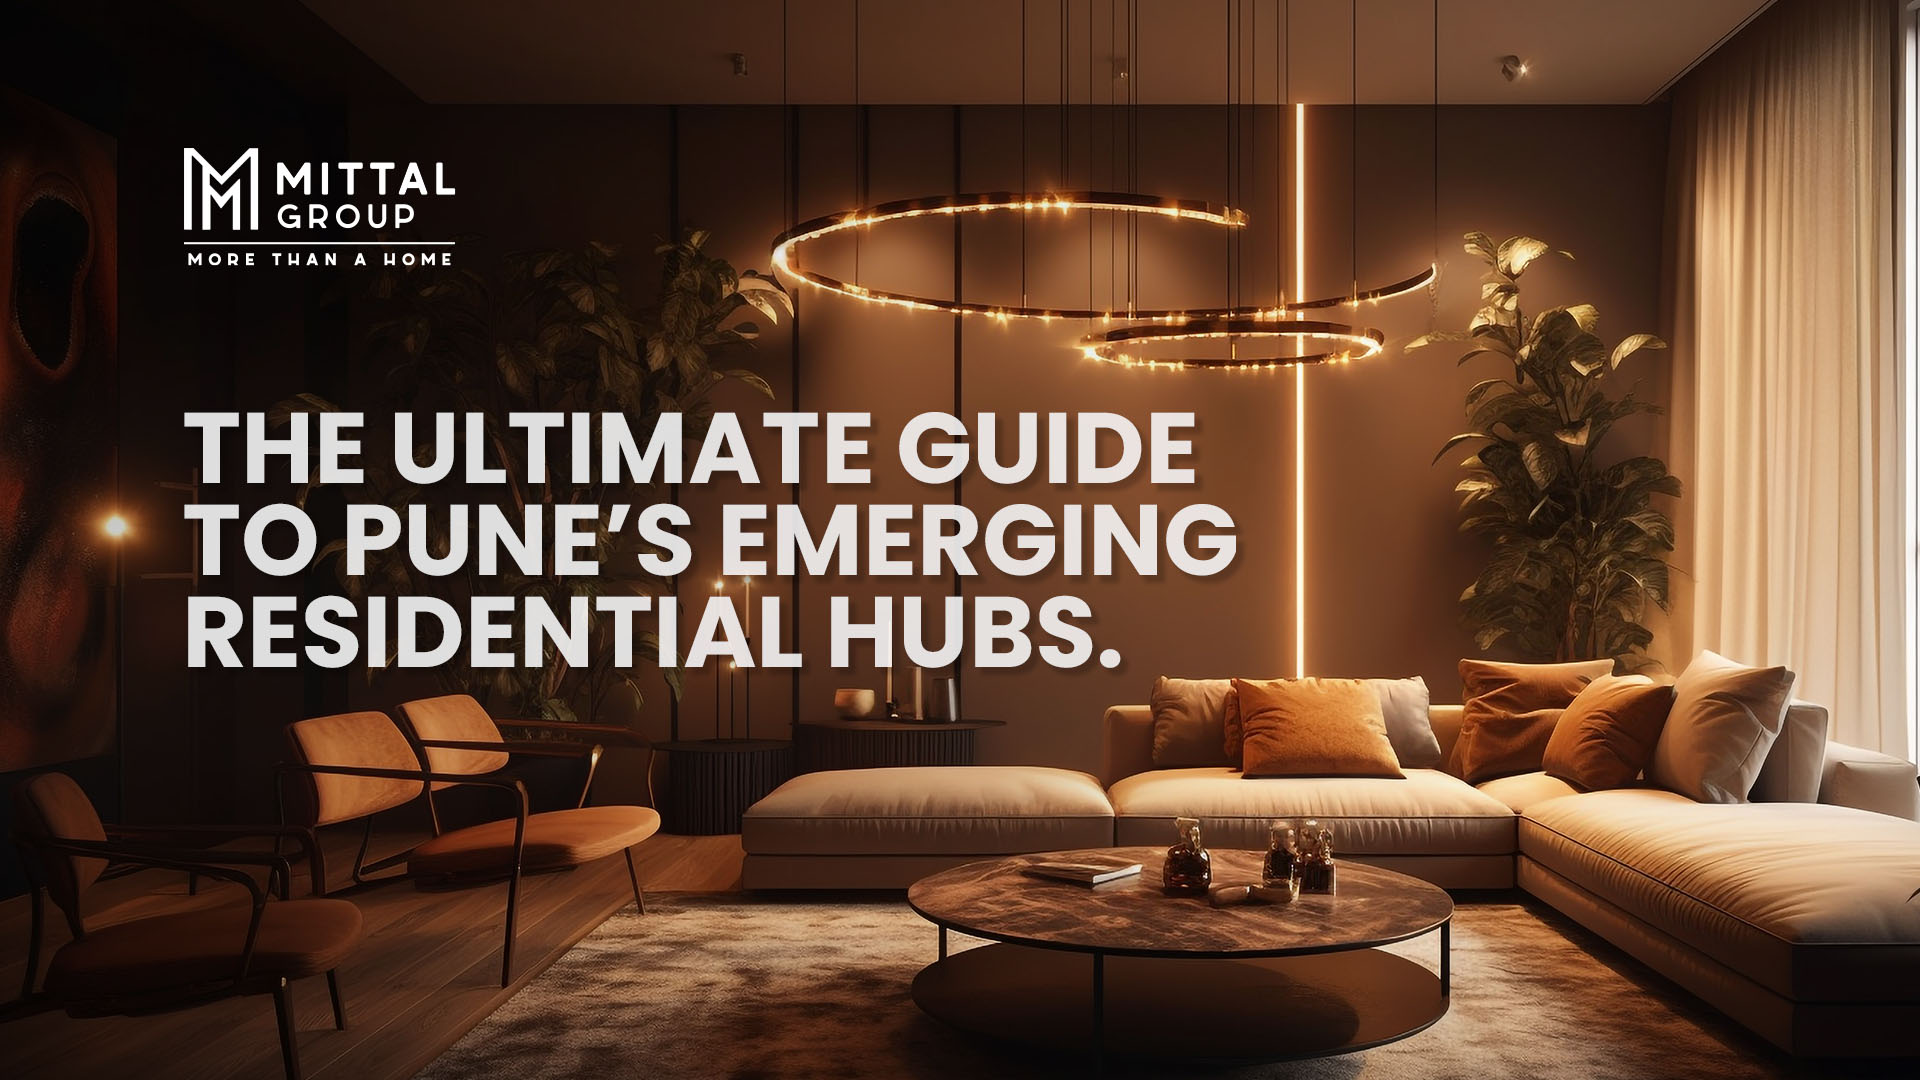
The Ultimate Guide to Pune’s Emerging Residential Hubs
Read More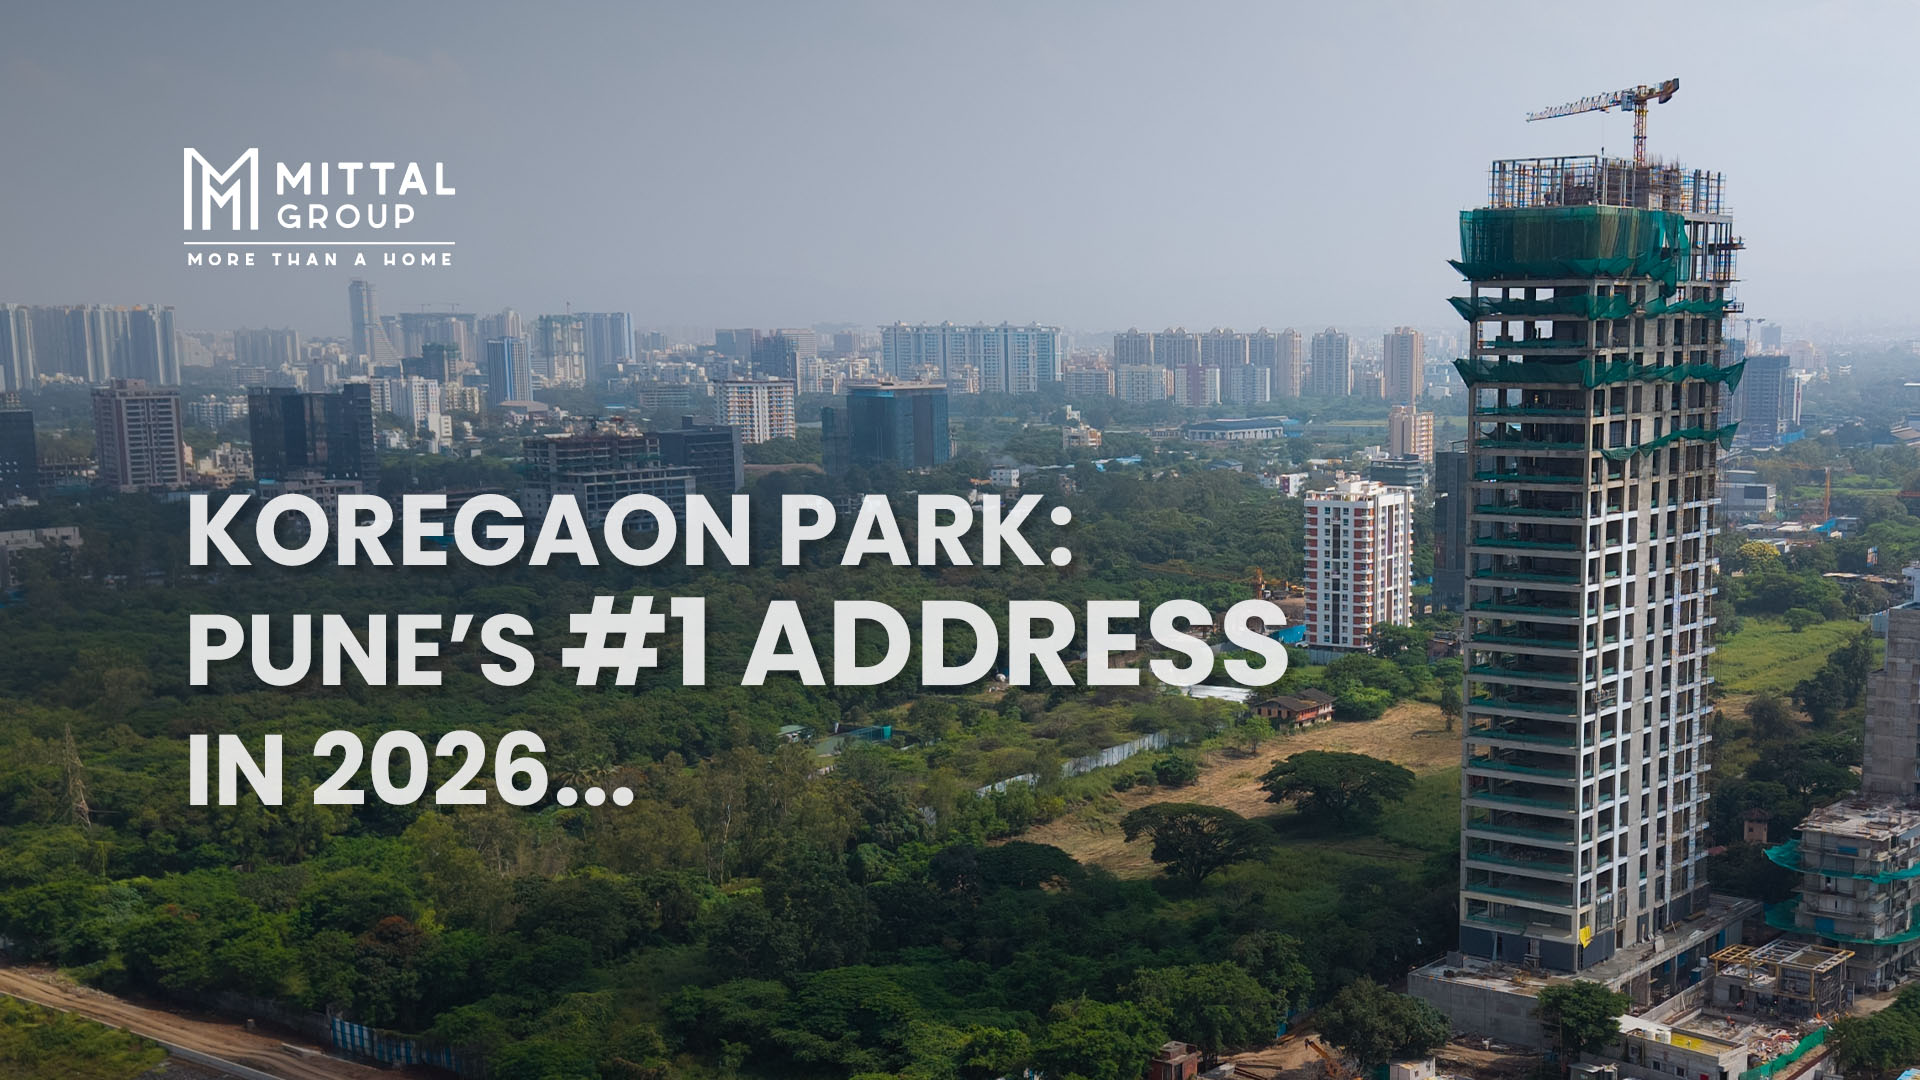
Why Koregaon Park Remains Pune’s Most Prestigious Address? A 2026 Review
Read More
How Premium Amenities in East Pune Increase Your Property Value?
Read More


